Series 2. The fire cave in Level 1.

Handpainted

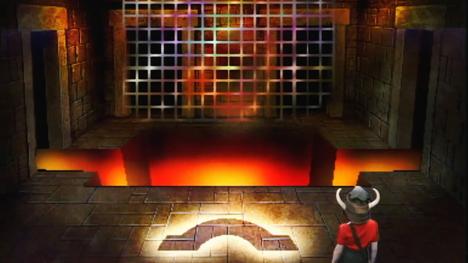
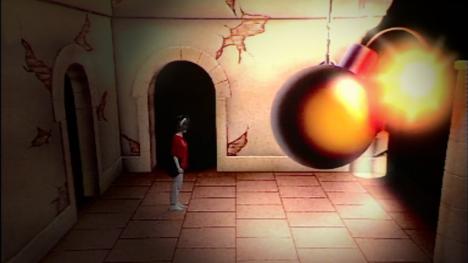
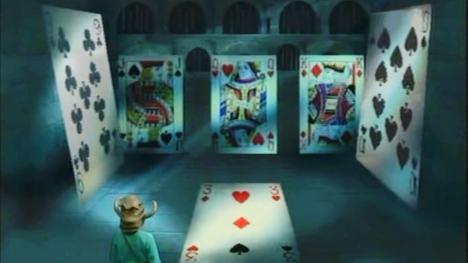
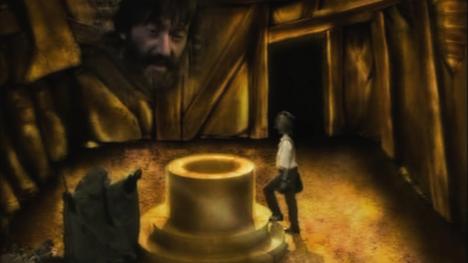
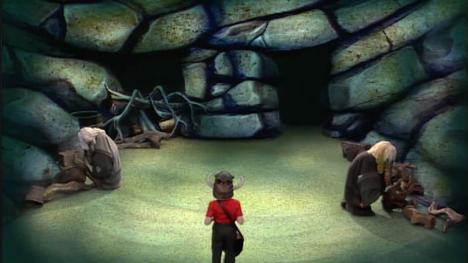
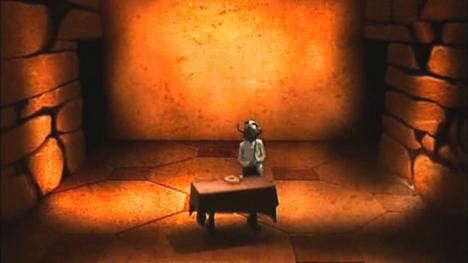
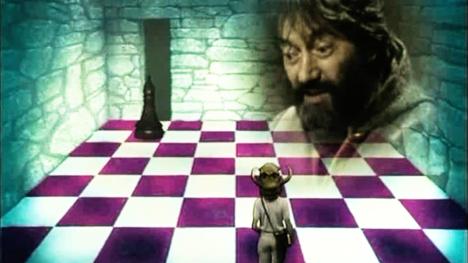
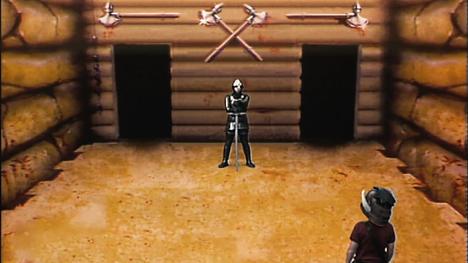
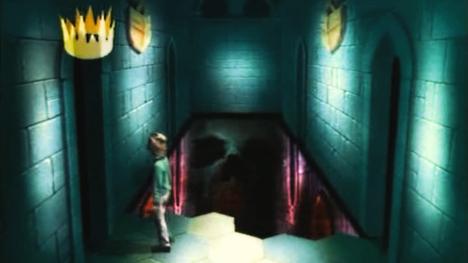
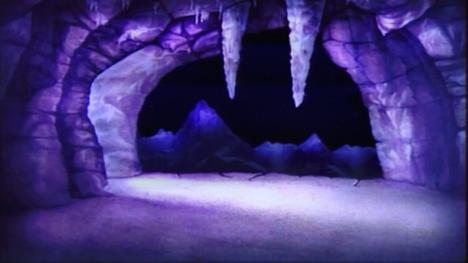
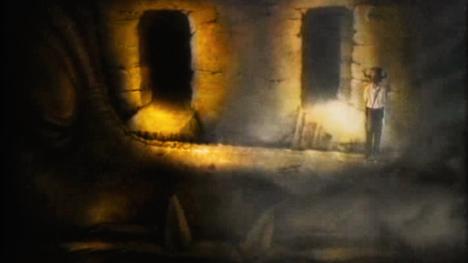
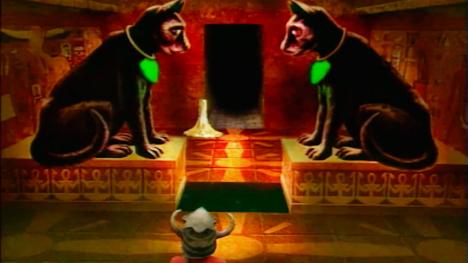
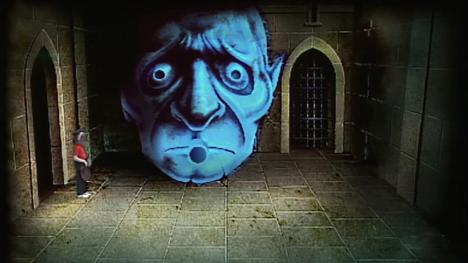
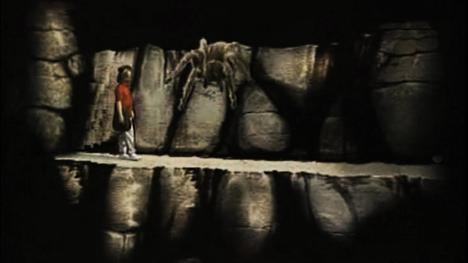
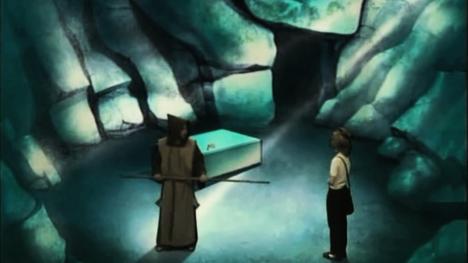
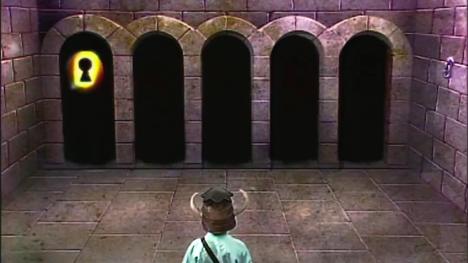
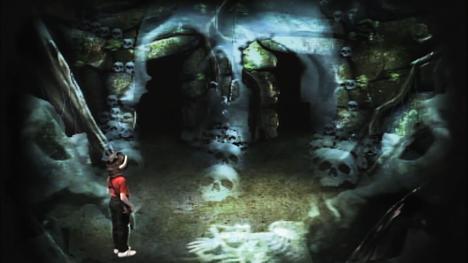
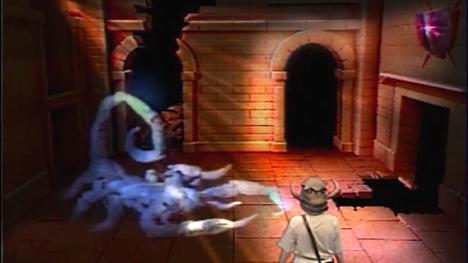
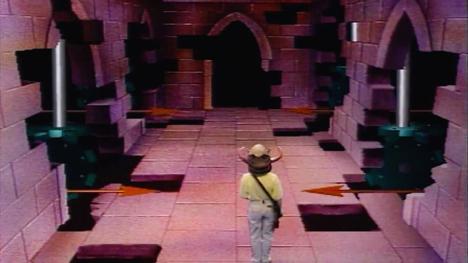
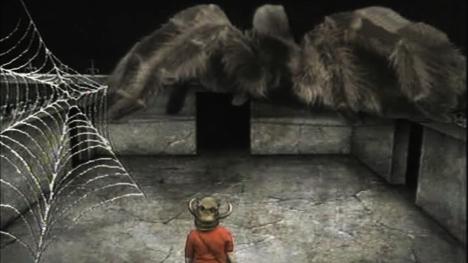
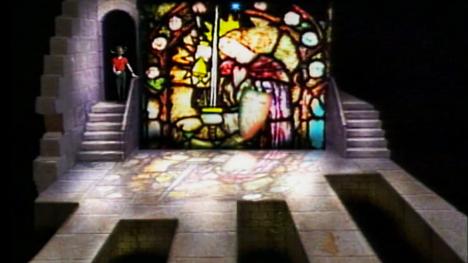
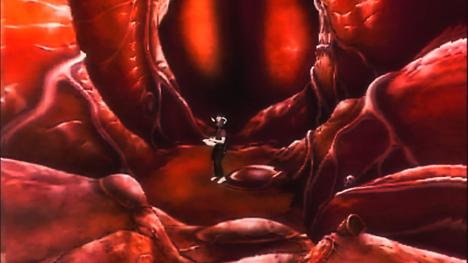
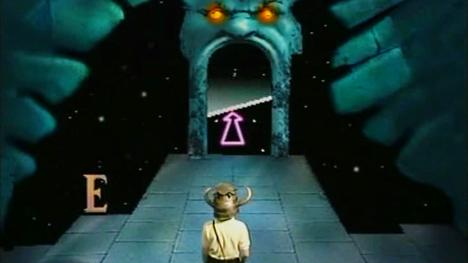
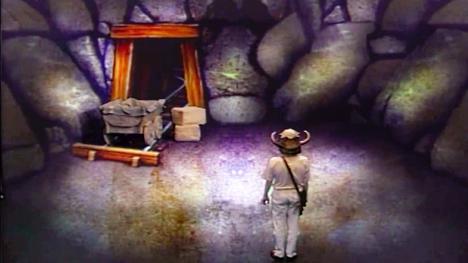
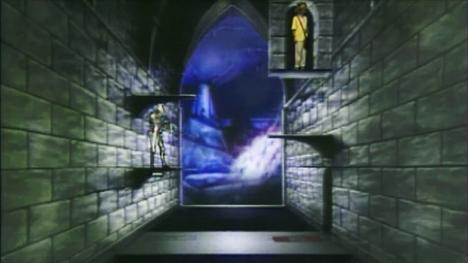
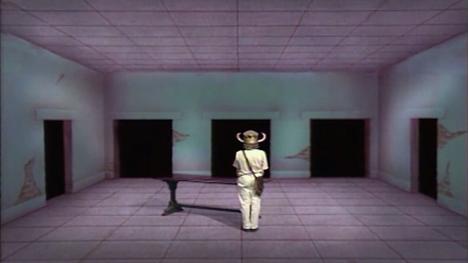
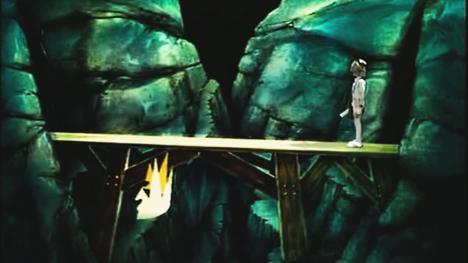
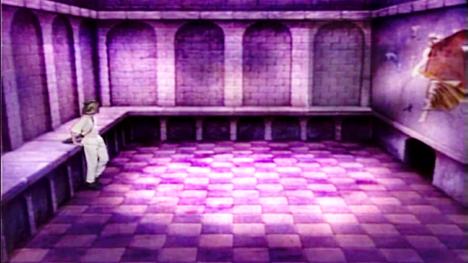
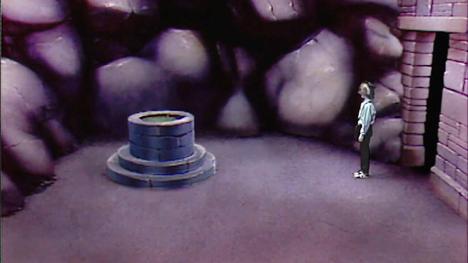
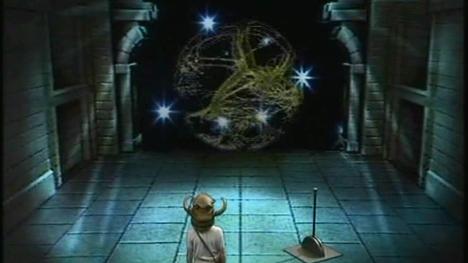
The hand-painted dungeon rooms were created by artist David Rowe, who is well known in the computer game industry for his cover artwork.


Each of the initial dungeon rooms was painted by David, who started off with pencilled sketches, which were faxed to the producers for approval. Once any modifications had been made, the scenes were painted before being provided for use in the show.

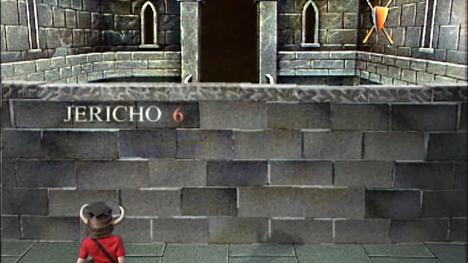
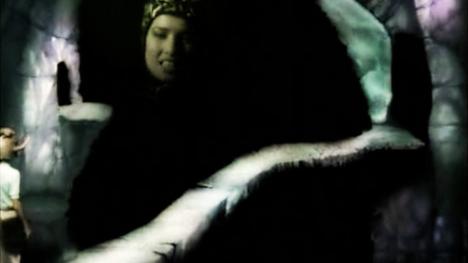
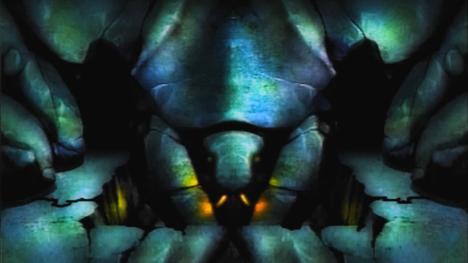
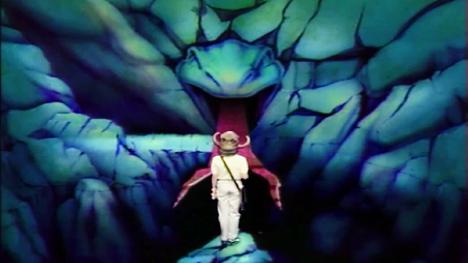
In order to increase the variety of rooms that dungeoneers encountered, the room designs were sometimes repurposed by modifying colours, inverting the image, or by adding CGI elements.

In This Section

Bell and Bridge

The alternative bell/bridge entry room from Series 1 and 2 of Knightmare.

This room was an alternative starting room in the first two series of Knightmare. Dungeoneers had to trigger a bridge to reach the exits.

Bomb Rooms

Series 1 Quest 2 arrive at a Bomb Room.

Bomb rooms were an immediate threat in the early years of Knightmare. Teams had to exit fast or face elimination.

Card Room

The picture card challenge from the early series of Knightmare.

This room with three exits was used for a card puzzle. Teams had to select a suit from a hybrid playing card to release the correct exit.

Catacombite

The catacombite challenge from the first three series of Knightmare.

A giant ghoulish creature made of bones was a menacing threat. Dungeoneers had to subdue it or avoid it to escape.

Cauldron Room

Series 2, Quest 1. Martin from Sunderland is almost tricked into Mildred's cauldron.

This ramshackle room with slanted wooden beams was usually occupied by Mildread. It sometimes doubled as a wellway to Level 2.

Cavernwight Cavern

The Cavernwight Chamber from the early series of Knightmare.

This stone cavern was inhabited by creatures that could hunt by smell. Teams had to negotiate this danger to escape.

Clue Rooms

Series 2, Quest 6. Akash and team debate what to take from the clue room.

Clue rooms allowed teams to choose objects that would help them survive the level. The Level 1 rooms were guarded by wall monsters.

Combat Chess

Series 2, Quest 5. Tony and team get advice from Treguard as they face the Combat Chess trial.

This room was a chess board for the dungeoneer knight to face the opposition bishop. It only featured in the second series.

Combat Room

The 'Combat Room', found in Level 2 during the first and second seasons of Knightmare.

This room is styled as the scene of a battle, complete with battle axes and bloodied floor. It often hosted an encounter with a guard.

Corridor of the Catacombs

Series 2, Quest 9. Jamie from Leeds navigates the Corridor of the Catacombs as the floor disintegrates.

These sinister corridors appeared in the early series of Knightmare. They were riddled with hazards, from moving walls to disintegrating floors.

Death Valley

The first scene from the Death Valley sequence of caves in Series 3 of Knightmare.

Death Valley was a formation of caverns in Series 3. Dungeoneers had to negotiate its dangers to reach the end of Level 2.

Door Option Room

The door option room, often the first room of the dungeon in Series 1 of Knightmare.

A room with four doors, often used towards the beginning of a quest in the early seasons of Knightmare.

Dragon Room

Series 2, Quest 4. The scene gets misty as Mark awakens a dragon deep in Level 3.

Before the arrival of Smirkenorff, a dragon occupied a handpainted chamber in Level 3. Dungeoneers might have to cross its mouth to escape.

Egyptian Room

The 'Egyptian' Room with two lynxes. Found in Level 3 on Series 3 of Knightmare.

This stylish room with lynxes and hieroglyphics was a timing challenge found towards the end of the Series 3 dungeon.

Falling Bridge

Series 4, Quest 1. Mogdred confronts dungeoneer Helen on the bridge in Level 3.

This long bridge in the third level of the Series 4 dungeon would begin to collapse at the behest of Mogdred or Malice.

Gargoyle Room

The Gargoyle Room, found in Level 3 during the early series of Knightmare.

The gargoyle was found in Level 3. Some of the teams that encountered it had to answer a riddle or improve its mood until it released the exit.

Giant / Troll Cave

Series 1 Quest 5. Helen is watched by a suspicious Giant as she enters his lair.

A giant and a troll both occupied a large chasm, with a narrow ledge at the side for dungeoneers to pass.

Jericho

The Wall of Jericho, with the full room behind. Appears in Level 3 during the early series of Knightmare.

This complex room was sometimes obscured by a large wall in the foreground. Once beyond this, dungeoneers were able to summon Merlin.

Kitchen

The Kitchen, with animated fire, as shown in Knightmare Series 2.

The kitchen was a good opportunity to meet characters and collect food or information during the early series of Knightmare.

Lair of Kaa

One of the Lairs of Kaa (Level 3) found in Series 3 of Knightmare.

A giant snake emerged from a pit in Series 3, forcing teams to scurry to the nearest exit.

Ledge Crossing

Series 2, Quest 12. Steven encounters a giant arachnid on a narrow ledge.

The versatile ledge crossing was used for an arachnid or a character encounter. It was expanded in the third series to a three-part set piece along a cliff.

Lillith's Domain

Lillith's Domain in Level 1, as seen in Series 1 and 2 of Knightmare.

Lillith's Domain was a stone chasm. Teams needed her causeway to escape through a serpent's mouth.

Lion's Head

The Lion's Head, Ledge Challenge, from Series 3 of Knightmare. A narrow ledge is all that remains.

Teams might encounter one of two tricky challenges caused by laser beams from a lion's eyes. They required quick or careful guidance to escape.

Medusa

Series 2, Team 10 encounter the Medusa in Level 3.

The mythological creature, Medusa, haunted a decorative room in Level 3. Dungeoneers without protection would be turned to stone.

Merlin's Chamber

The original study of Merlin the Magician, seen in Series 1 and 2 of Knightmare.

Teams who reached Merlin's Chamber in Level 2 had to perform a task to summon the iconic wizard.

Mills of Doom

Series 3, Quest 10. Julie at the Mills of Doom in Level 2.

The Mills of Doom were a set of rotating cogs that formed a passage across the room from right to left.

Monk Room

Series 2, Team 4. Mark and team encounter Cedric in Level 2.

This small cavern was the standard entrance to Level 2 in the early seasons. It was normally guarded by Cedric the Mad Monk.

Morghanna's Causeway

Series 3, Quest 6. Ross faces Morghanna on a narrow ledge.

This narrow causeway appeared only once but claimed one of the few teams to reach the third level in Series 3 of Knightmare.

Place of Choice

The Place of Choice, the opening scene from Series 4 of Knightmare.

The first room of the Series 4 dungeon featured a rotating disc between mountains that allowed dungeoneers to select their quest object.

Puzzle Room

Series 1 Quest 3 receive help from Casper the Key at the Moving Keyhole

This room with five narrow doorways was used for several selection puzzles during the early series of Knightmare.

Scarab Room

Series 2. The fire cave in Level 1.

This colourful chamber is a timing challenge. Dungeoneers must avoid the fire that bursts up through cracks in the floor.

Serpent's Tongue

The serpent's tongue forms a bridge to cross. From Knightmare Series 3.

The Serpent's Tongue was a challenge of timing and accuracy in Series 3 of Knightmare. Dungeoneers used a moving tongue as a bridge across the chasm.

Skeleton Room

The Skeleton Room was often used at the entrance to Level 3. This variation is from Series 1 of Knightmare.

This room was a dark and sinister introduction to the third level during the early seasons of Knightmare.

Snake / Scorpion Room

The scorpion with its snapping tail and additional floor tiles removed from Series 3 of Knightmare.

Usually a Level 1 challenge, this room contained various hazardous creatures, including a snake and a scorpion.

Spear Room / Pendulum

The Corridor of Spears. Dungeoneers had to pass two sets of hazardous weapons. This variation is from Knightmare Series 3.

The Spear Room was a common timing challenge during the early series of Knightmare. Dungeoneers had to avoid spears to reach the exit.

Spider Room

The Spider Room was the home of Ariadne during Series 2 of Knightmare.

Ariadne's chamber was often a race to escape before webs covered the exits and trapped the dungeoneer. It was later used ahead of the Vale of Banburn.

Stained Glass Room

The Stained Glass Window lay deep in Level 3 during the early series of Knightmare.

This artistic room with its fabulous stained-glass window required magic to reveal the correct pathway or overcome its guardians.

Stomach

Series 1 Quest 4. Danny lands in the serpent's stomach.

Dungeoneers who passed into the serpent's mouth risked falling into its stomach. Teams had to improvise to fashion an escape.

The Guillotine

The guillotine was the end of the dungeon during the early years of Knightmare - seen only in Series 2.

The end of the dungeon in the early series was a long platform with a guillotine. It leads to an arrow where the quest is redeemed.

The Mine

Series 3, Quest 2. Cliff reaches the Mine Cart room.

An active mine was supervised by a dwarf mineworker in Series 2. In the following year, the remaining mine cart formed the route to Level 3.

Transporter Pads

The Transporter Pads challenge, with a waterfall in the distance. Seen in Series 4 of Knightmare.

This cultured puzzle in Level 3 required dungeoneers to navigate their way down from a high platform to an exit at the bottom.

Twist Room

The 'Twist' room with five doors, from Series 3 of Knightmare.

This symmetrical room with five exits was used for various puzzles and traps in Series 3 of Knightmare.

Vale of Banburn

The first scene from the Vale of Banburn, Series 3 of Knightmare.

This valley had a winding pathway through perilous quicksand marshes. It lies near the realm of the elven kin and is often patrolled by Velda the Elf.

Vale of Mogdred

The bridge, also claimed as the Vale of Mogdred, from Series 2 and 3 of Knightmare.

This narrow bridge is set above a deep ravine. It is often guarded, and is a favourite spot for Mogdred to persecute dungeoneers.

Water Room

Series 3, Quest 2. Following a DRINK spell, Cliff climbs down into an empty pool.

Inspired by a Roman Baths, this room was often filled with water and provided some interesting and clever challenges in Series 3.

Wellways

The Level 1 Wellway Room was used for the first three series of Knightmare.

Wellway rooms allowed dungeoneers to descend to the second and third levels in the early series of Knightmare.

Wheel of Fate

The Wheel of Fortune, the opening room during Series 2 of Knightmare.

This astral room is the beginning of the quest in the second series of Knightmare. Dungeoneers must halt a spinning vortex to select their next room.