Team 10: Julian, Vaughan, Becca and Mary from Banbury.
The tenth quest of Series 2 was for the Talisman and lasted 39 minutes.

Level 1
From the Wheel of Fortune, they encounter Gretel.
Gretel tests Julian's honesty by asking if she is pretty. (She will only accept a dishonest answer because he cannot see her.)

She offers a spell, FOUL, along with information about the exits and the automatum.
Gretel: "When foul's about, it will show it out!"
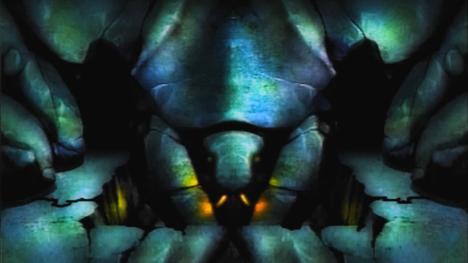
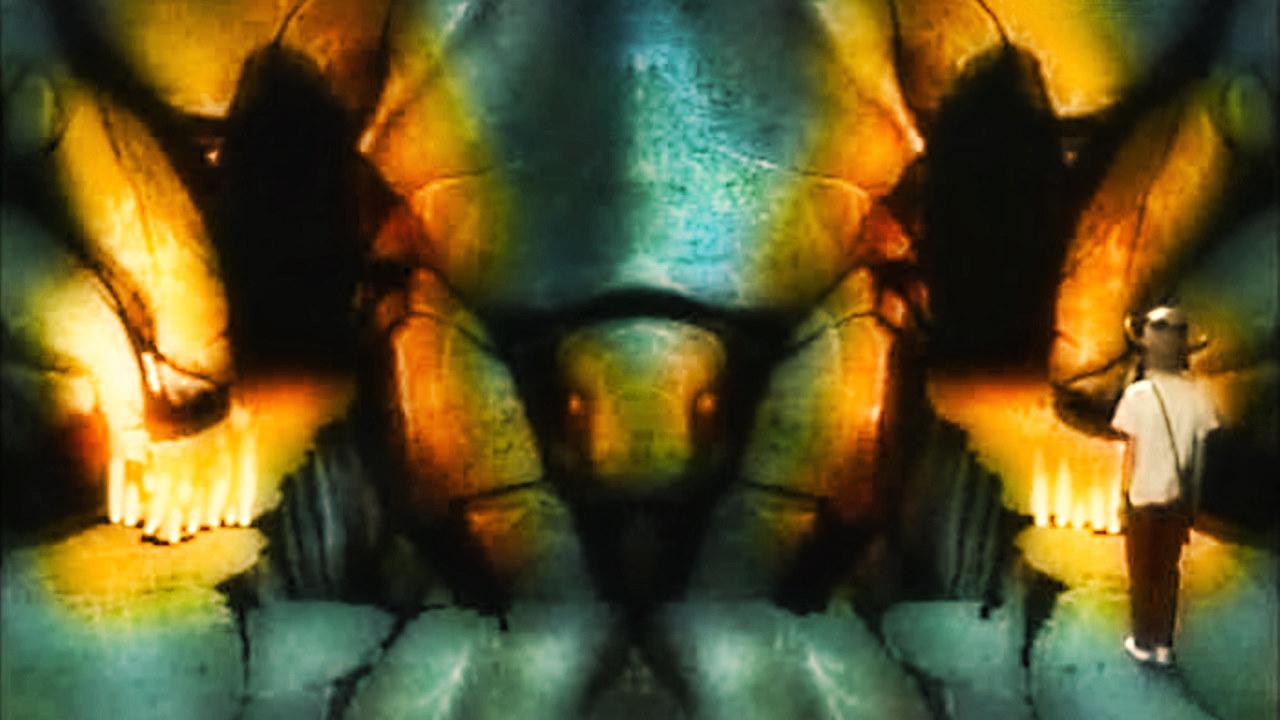
They make a mess of the Scarab Room, walking straight through a line of flame and damaging life force.
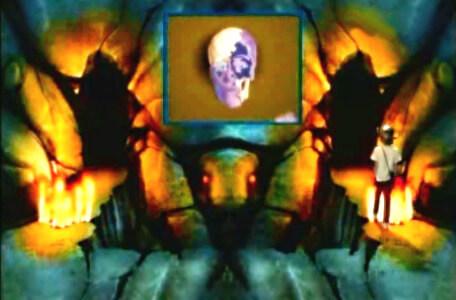
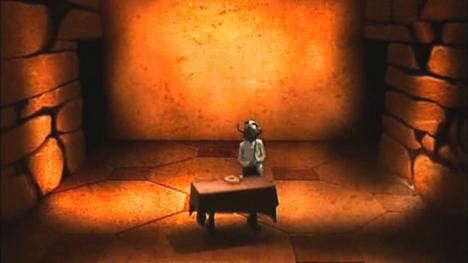
Better in the Level 1 clue room, which is guarded by Olgarth (Score: 3). Olgarth recommends taking a quill and a key. They leave behind a dagger.
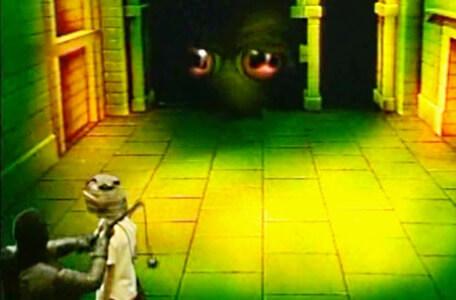
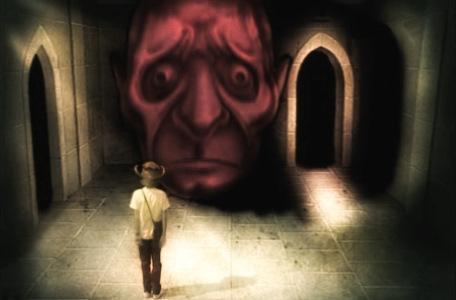
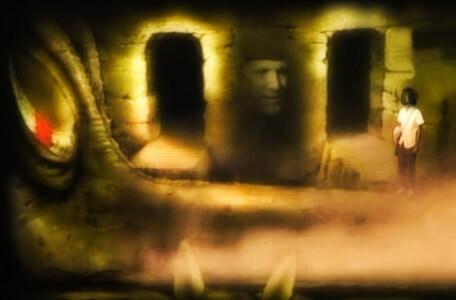
Into a large room with reptilian eyes watching on from a distance. The automatum approaches from behind and almost catches Julian, who is yet to move from the corner.
Into a bomb room where the exit is locked. Julian uses the key to escape.
Into the kitchen, where a strange-sounding Gretel tries to offer Julian a pie.
They spell-cast FOUL, which reveals a cackling Mildread. She claims it is just a joke.
Gretel dances in and realises that her form has been used. She throws Mildread out of the kitchen.

Gretel: "You're going to have to be much more careful if you're ever going to be a hero, you know?"
The automatum continues its pursuit. Gretel tries to get Julian out but he keeps evading the exit!
Into the wellway room. Julian makes a quick descent before the mechanical warrior can catch him.
Level 2
Julian arrives in a room with five doors, all of which are numbered. Gretel comes in again, with a rhyme pointing to the correct exit.
Gretel: "Just one to choose, or life to lose, but for goodness sake don't choose the rest."
They choose door number 1. It leads to the Mills of Doom.
Cedric's cave is haunted by a wraith. Julian collects a bottle before the team guide him out.
The Level 2 clue room. Treguard tells Julian to investigate the bottle. It unleashes a destructor and the whole room shimmers. They exit immediately without clue objects.
Into Merlin's chamber, where a sprite of energy restores Julian's life force from critical status.
What a fine mess you've got yourself into... What's worse for you, you've now got to face the rest of this level with nobody to bribe anyone with and nothing to give you a hint...
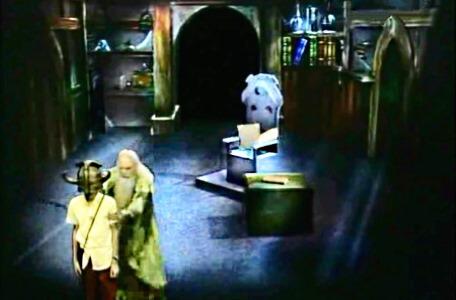
The wizard is happier after they answer two riddles correctly. He summons Folly the Jester to help them on their way.
The Vale of Mogdred is guarded by a drunken Gumboil, who lies prostrate on the bridge.
Gumboil: "Intruder alert, Level 6!"
Folly tricks Gumboil into accepting a 'Sorcerer's Stone' (along the guise of the Emperor's New Clothes).

Folly: "Just remember that these rare and valuable stones are completely invisible to all but the cleverest people..."
A grateful Gumboil lets them past. Folly indicates that they will need to learn from his demonstration.
Into a corridor with the amphibian. Folly calls it a 'Toadodile' and offers to distract it while Julian exits.
In the Combat Room, they collect the first piece of the Talisman.
The Level 2 wellway is guarded by Olaf the Viking. He expects a bribe for passage.
Julian repeats the Sorcerer's Stone trick, telling him it's a magical object and that only stupid people cannot see it.

Olaf accepts the ruse easily, though he begins to change his mind as Julian descends to Level 3.
Olaf: "I think they be making Danish bacon of Olaf!"
Level 3
Julian lands in a room with a Gargoyle in the wall.
Treguard says Julian can command him to speak and may learn something useful.
Gargoyle: "What's round and hard and fairly dense is just the thing for your defence."
The Gargoyle begins turning blue, so they exit quickly.
Julian collects the second piece of the Talisman under the threat of cavernwights.
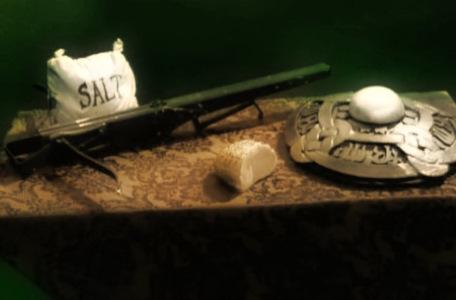
The Level 3 clue room. As the cavernwights return, the team chooses a round shield and a bag of salt, leaving behind a crossbow.
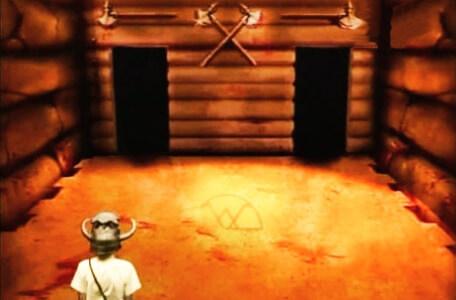
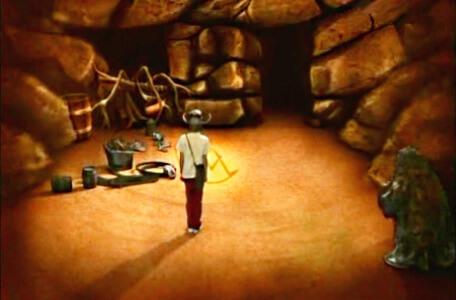
Julian turns over a symbol to summon Merlin. Merlin awards a spell.
Merlin: "It is called DARK, though it is not, of course, dark magic."
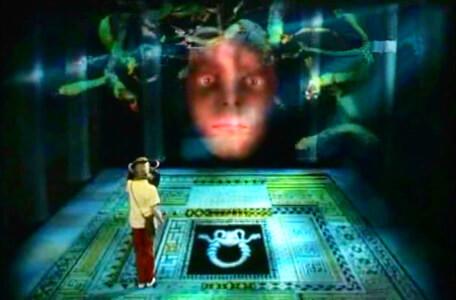
The Medusa lies in wait. Treguard tell Julian to use the magic shield, while those in the antechamber must also protect themselves.
You must take it in turns to guide Julian out. I warn each of you when you must avert your eyes...
The dragon is asleep. Treguard thinks they've got lucky but Mogdred appears to stir trouble.
Mogdred: "Day is dark and dark is day, Dark is always Mogdred's way. Awaken, dragon, wake and slay."
The dragon says it cannot eat Julian while he is stood on its nose, so it's a fairly easy escape once he gets off it.
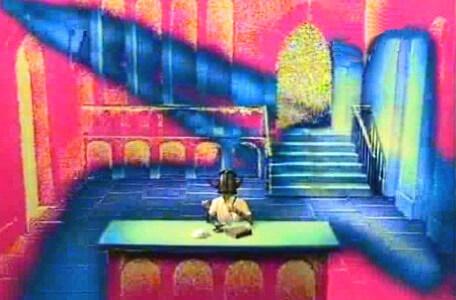
Into a room with a stained-glass window.
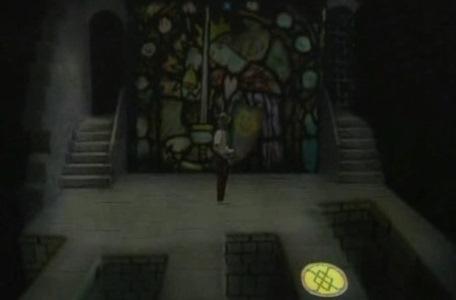
Treguard: "A confusing scene, perhaps, made even more confusing by all the light from the stained-glass window..."
They spell-cast DARK, which reveals a Talisman symbol on one of the narrow pathways.
The final piece of the Talisman is in the next chamber, but Mogdred appears.

Julian refuses to pledge allegiance to him.
Mogdred: "Very well, then. Face the ultimate challenge unaided!!"
They collect the final piece of the Talisman.
Continued on the Winners page.
Hear from the team
In October 2001, Vaughan Simpson signed the Guestbook.
I couldn't believe my eyes when I found this site!! Brings back memories from years ago when I was in one of the winning teams with Julian, Mary and Becca. We had great fun filming and it was a REAL adventure the whole time we were there. Good stuff!!
The following month, Jason Karl (Julian) signed the Guestbook.
Your site is fantastic - I was the second winner of Knightmare (Julian Smith - I'm an actor and have changed my name) and this bought back so many wonderful memories. I was a massive Knightmare devotee and still have all the recordings of all Broadsword's shows - I was also on Tim's other series, 'The Satellite Game'. Thanks for your work on the site - it couldn't be any better.